
Build your effortless Print on Demand stores at a glance with 7 easy steps
Menu:
What is Print On Demand?
Print On Demand (POD) is a business model that allows you to sell personalized products with unique, eye-catching designs that are printed after placing orders. With Print on Demand, you don’t hold on to any physical inventory. There are Print on Demand platforms such as ShopBase and PrintBase that take responsibility for the entire process, from the printing to order fulfillment.
Items such as t-shirts, blankets, mugs, tumblers, shoes, etc. are easily printed for orders and shipped directly from the manufacturers to the buyers on behalf of the sellers. Signing up with one of these platforms, you’re no longer concerned about delivery and inventory management. All that’s left that you have to do is focus on selling products and increasing profits.
Creating a profitable Print On Demand business with our latest solutions
If you already have your own professional team to handle all steps, from designing Print on Demand products to processing orders, delivery shipment, payment, and just wanting to connect with global trustworthy fulfillment services to manage the entire sales process proactively, then PrintHub from ShopBase is your number one choice.
With ShopBase, sellers can quickly create products, import them to their storefronts, and fulfill orders automatically. You can find instructions for building a fully-functional Print on Demand stores in a minute with ShopBase here and have your products auto-fulfilled with PrintHub at ease.
If you want to eliminate all the manual tasks and receive support from a professional team in Print On Demand to concentrate on crafting your unique product designs, then PrintBase is a worth-a-try platform.
PrintBase is an all-in-one Print on Demand solution that allows you to create personalized products, quickly launch them to your online stores, and ship directly to your buyers’ doorstep. The thing that makes PrintBase more particular in POD is that all the processes, from the printing process to product fulfillment, are high-quality automated with our premium services. Moreover, PrintBase provides built-in payment solutions to keep you away from fraud or dirty payment tricks and deceitful buyers.
Interesting? In this article, we will give you full guidance to build your effortless Print-on-Demand store with PrintBase from scratch. Let’s dive in!
How to start your POD business with PrintBase?
Building Print On Demand websites may take a long time. But don’t worry, PrintBase with amazing features and powerful apps can help you easily create a fully equipped POD store in a few clicks without hassle.
There are 7 steps to create Print on Demand sites with PrintBase:
Step 1: Sign up for an account
Step 2: Customize your store
Step 3: Launch campaign and create your personalized products
Step 4: Optimize your online store
Step 5: Add Payout account information
Step 6: Connect a domain
Step 7: Place a test order
So, let’s start at the top.
Step 1. Create an account
To register for a PrintBase account, visit PrintBase Sign up page, read Sign up & login guide for more details, and fill in the necessary information.
Having access to your PrintBase account, choosing a name that makes your store unique and easier to identify. Start your 14 days free trial, then you’ll be directed to the Admin dashboard to manage the store’s operation. A super easy step that only takes a min, right?
Step 2. Customize your store
You do not need to have any real technical background to build an online store, PrintBase Store Builder will automatically generate a complete store with a relevant layout that matches the best to your expectation right after your sign up. Everything is ready to go with a store demo here.
Of course, similar to ShopBase, you can customize your website appearance more unique and outstanding with setting options in Online Store with the following steps. Theme styles, text, colors, option buttons, adjust navigation settings, etc. are easy to change and modify.
1. Change theme styles
You can customize the theme in your own style if ShopBase set-up style is out of your interest.
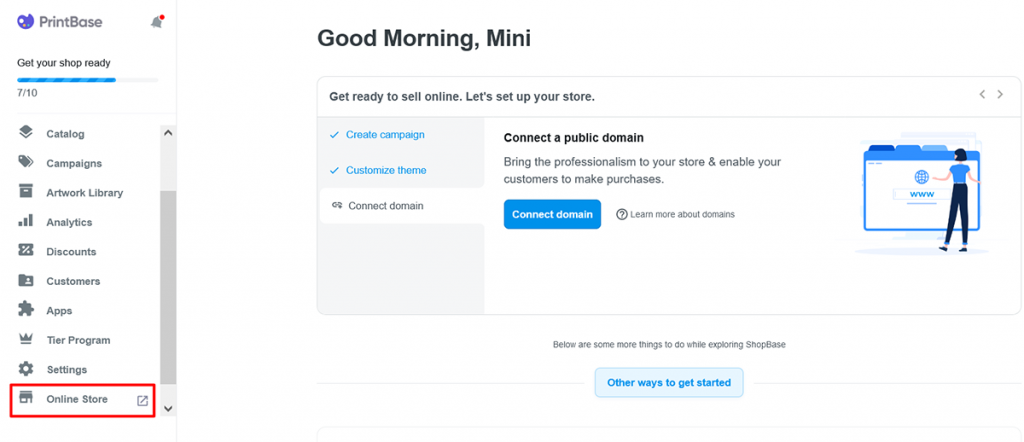
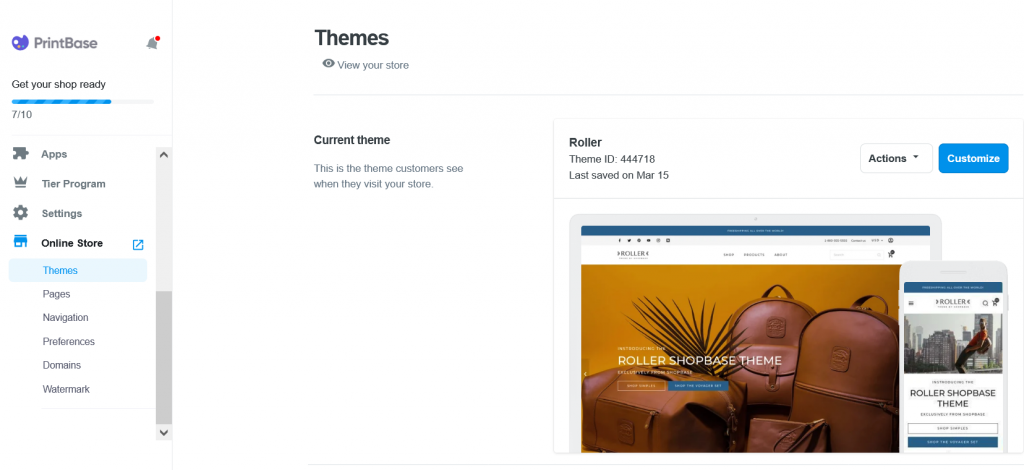
- First, click Themes in the Online Store section, then press the blue Customize button to enter the main homepage design.
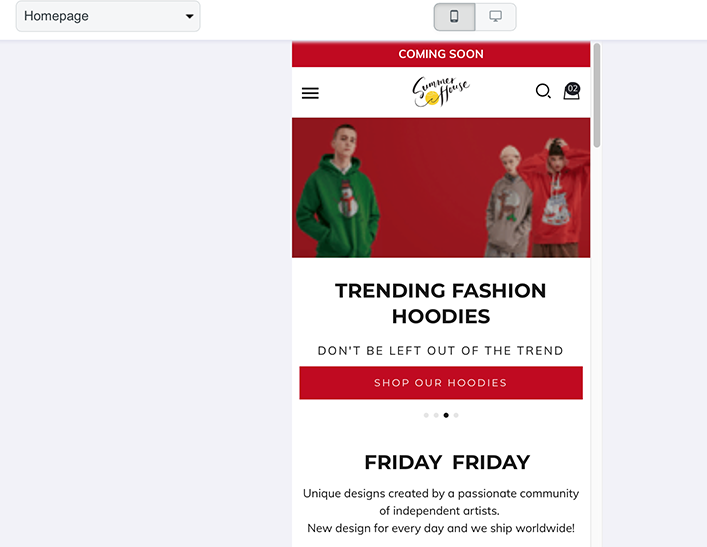
There will be a large display to preview what you have changed on both mobile and laptop interface. Remember to save your adjustment before the exit.
2. Modify text and colors settings
In the Theme settings, you can change the colors and typography showing on the storefront to catch visitor’s attention, creating a contrasting effect, and especially, giving the eyes a series of anchors throughout the site.
- Sections for header, body, and footer.
- Settings for color, typography, button text, etc.
Note: Saving before entering the storefront to see the difference after applying changes.
3. Navigation and pages
In Online Store section, Pages allows you to organize your store information in pages and display it on the storefront by settings in Navigation.
In this section, you can go to manage pages to view how to add a new webpage or update content.
Besides the contact-us page, you can also add a blog to your online store to drive more traffic or to encourage feedback.
Add the custom watermark to identify your unique designs with our instruction from here.
Step 3: Launch campaign and create your personalized products
It’s super easy to create your very first new product with PrintBase’s built-in feature.
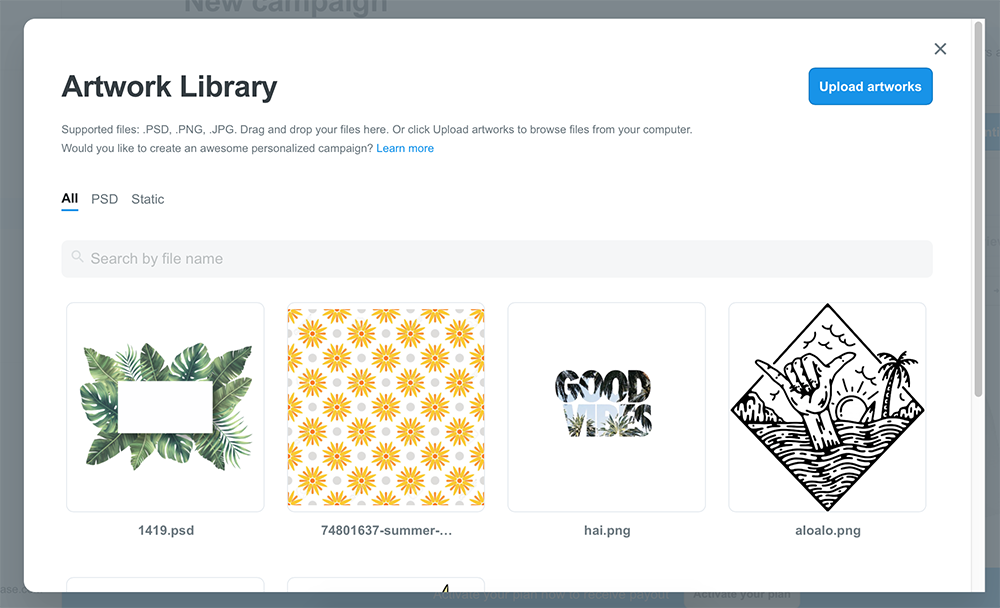
First, visit Artwork library from the dashboard, drag and drop your design files (all .PDS, .PNG, or .JPG are supported) or click Upload artworks to browse files from your computer. With Artwork library, your designs are all managed and stored here for the next campaigns.
Go to Campaign > Catalog to start creating your products.
Select the product(s) you want on All Over Print, Apparel, or Home & Living tab by clicking Add product.
After picking your target product (T-shirt, blanket, mug, etc.), press New campaign button to start applying the design on them.
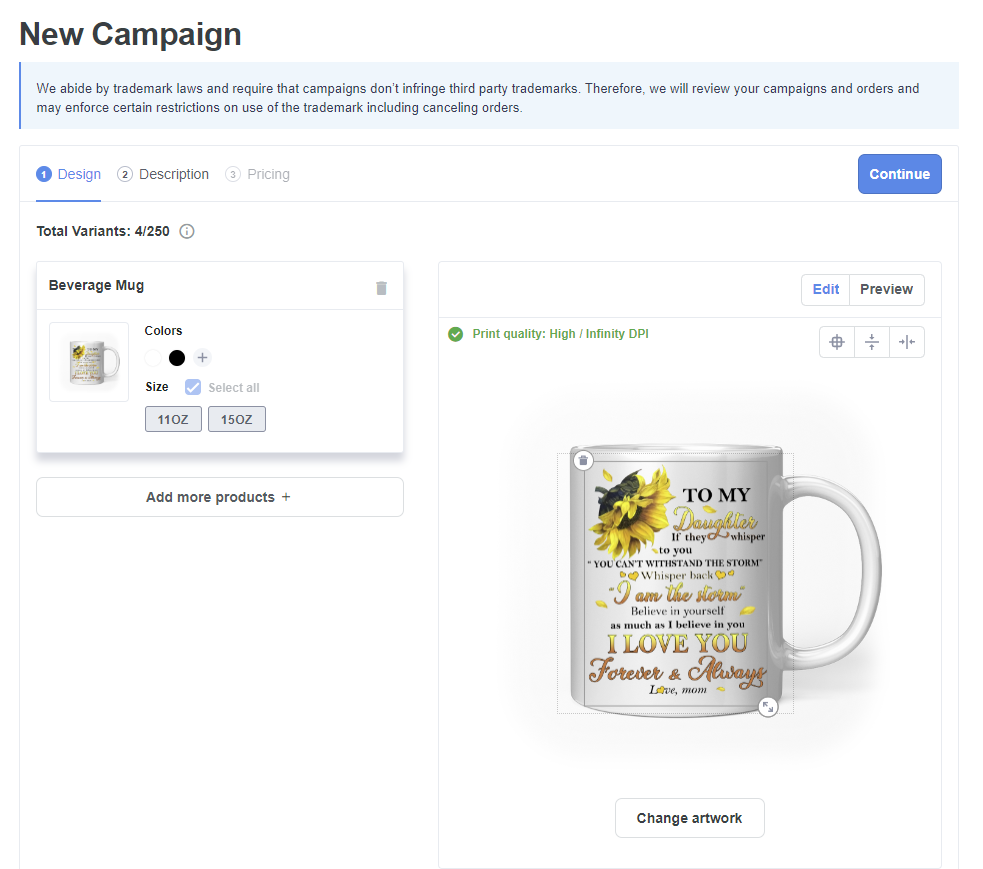
In this step, you need to add the artwork that meets all the requirements below to ensure quality prints. After that, choosing the color(s) and variant(s) you want to sell.
Add the title and write full product descriptions as clearly as you can. Make sure you fully explain the products so that the buyers can get what they want to know when shopping.
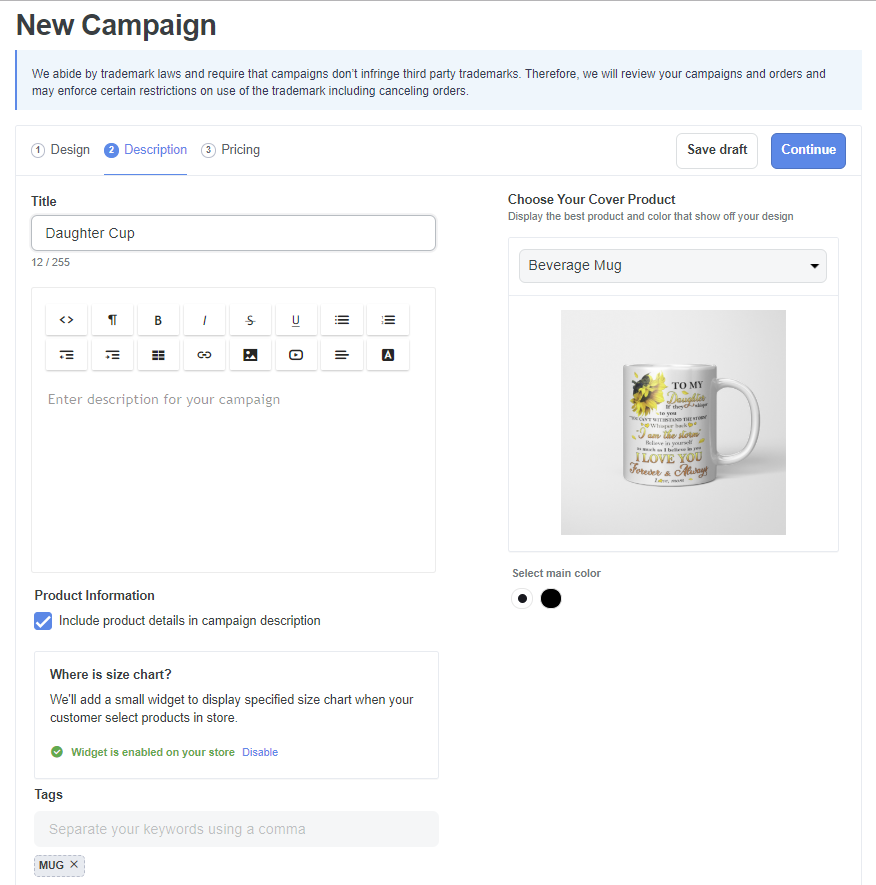
Don’t forget to enable the size chart widget as well as add tags to your campaign.
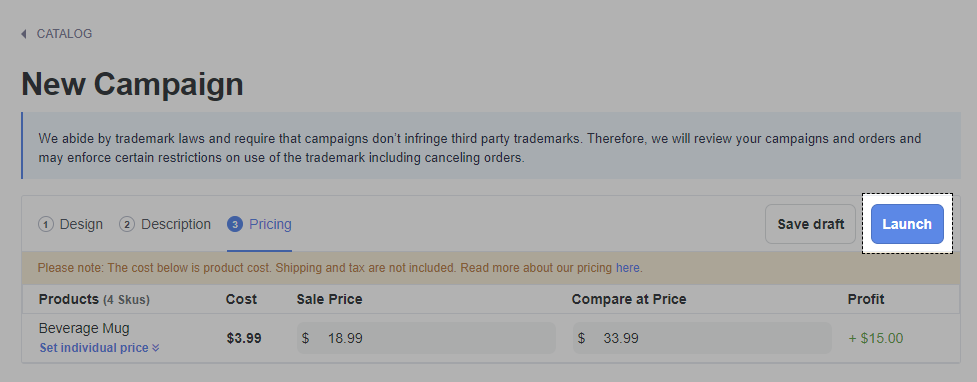
In the Pricing tab, you can change Sale price, Compare at price or Set individual prices that suit your sales plan. PrintBase will automatically calculate the profit that you can get after completing an order.
In the final step, press Launch to make your products available on your online store.
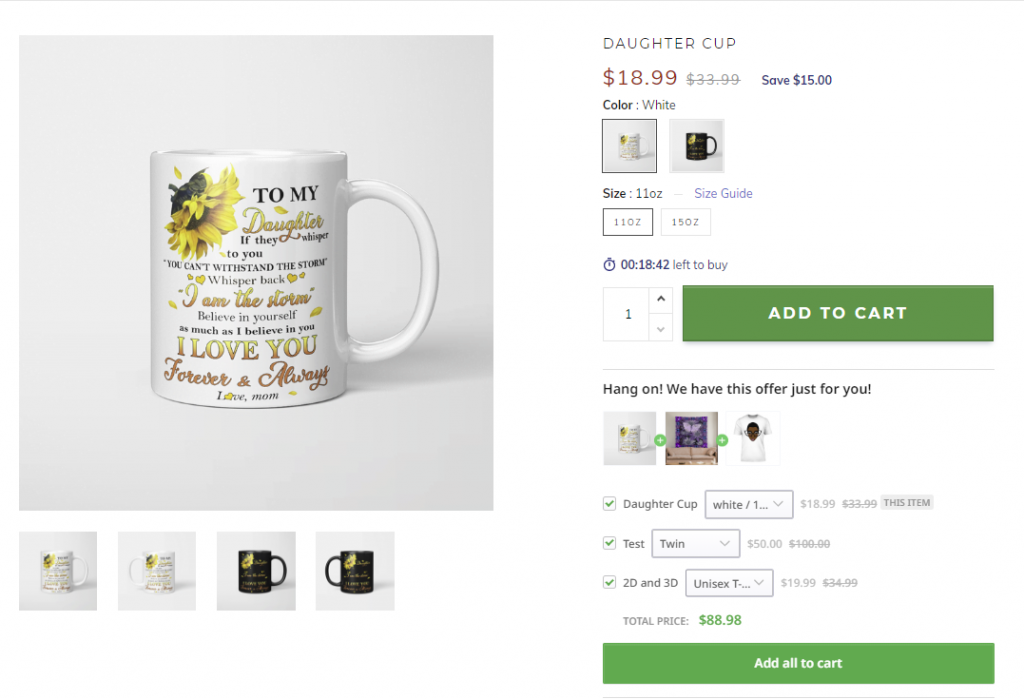
So, this is how your campaign looks in your storefront.
Moreover, you can learn how to create personalized campaigns with .PDS files, and give your customers the exceptional purchasing experience with unique products that they can’t find nowhere else.
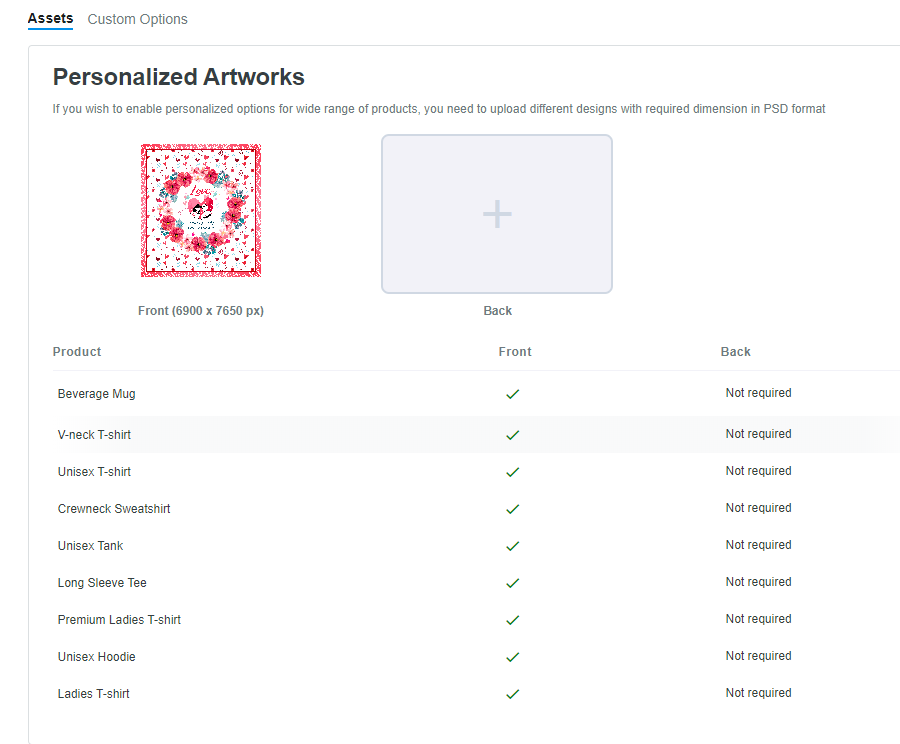
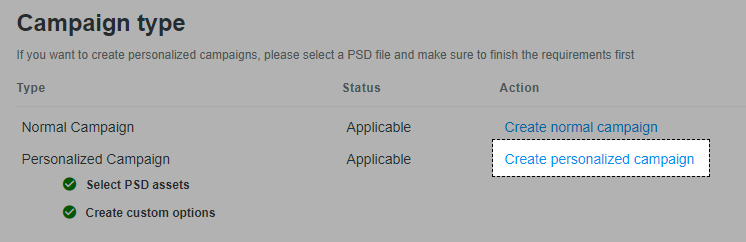
In Artwork Library, choose PSD and select your desired design. In Campaign type, click Create personalized campaign.
Select PSD assets, and you can flexibly upload a new font for the personalized text shown on the selected layer by clicking Add new fonts.
Besides that, PrintBase gives you a chance to custom products with several options, such as Name, Type, Label, etc. You can easily add multiple custom options for one campaign by clicking Add another option. Then, PrinBase will automatically render and fulfill the order for you.
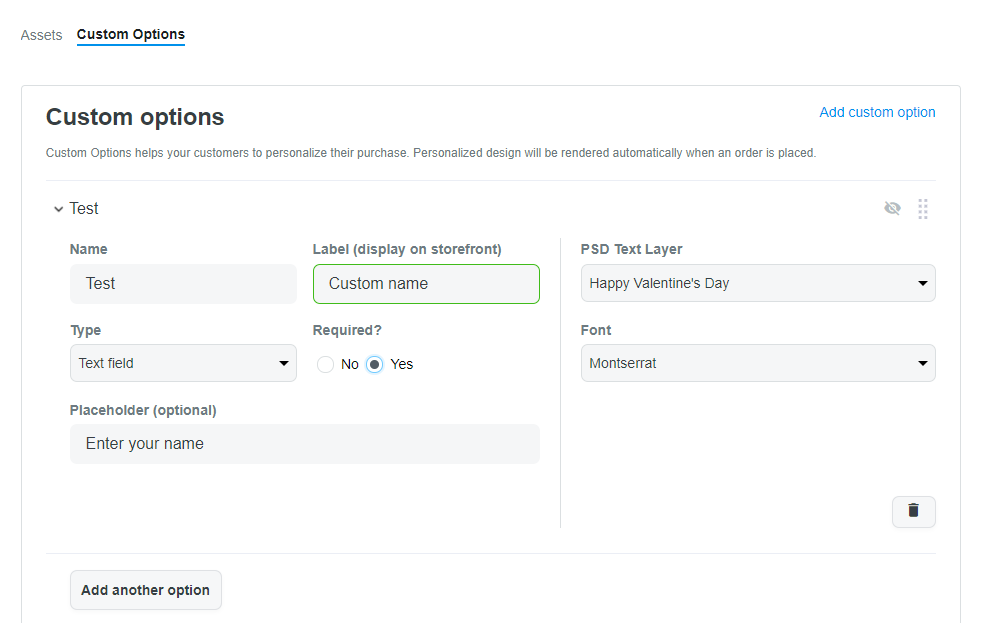
When all is done, click Create personalized campaign.
Note: ShopBase/PrintBase merchants are not allowed to use third-party trademarks unless they have permission. Learn more about our trademark policy here.
Step 4: Optimize your online store
A fully equipped online store can drive conversion rates and quickly boost sales. Therefore, in this section, we will provide you the ultimate ways to leverage your store, especially on the Cart page.
1. Show countdown timers and products countdown
You should add a countdown timer and product countdown to show the scarcity and urge your customers to buy faster before this product is running out.
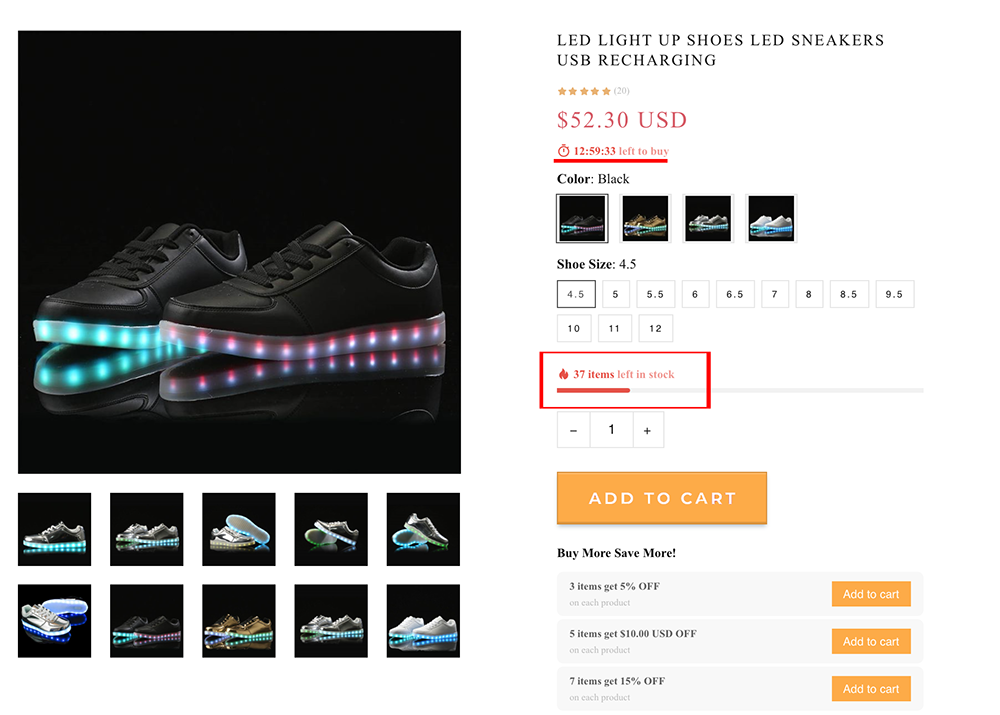
To install the Countdown Timer and Product Countdown, download Boost Convert from ShopBase App Store to set up.
2. Highlight the “Call to Action” (CTA) button
CTA (Call-to-action) is the Add to cart or Buy Now button on the product page. You can design your Call to Action button in whatever colors you want to create a sense of excitement and urgency for shoppers to buy your products.
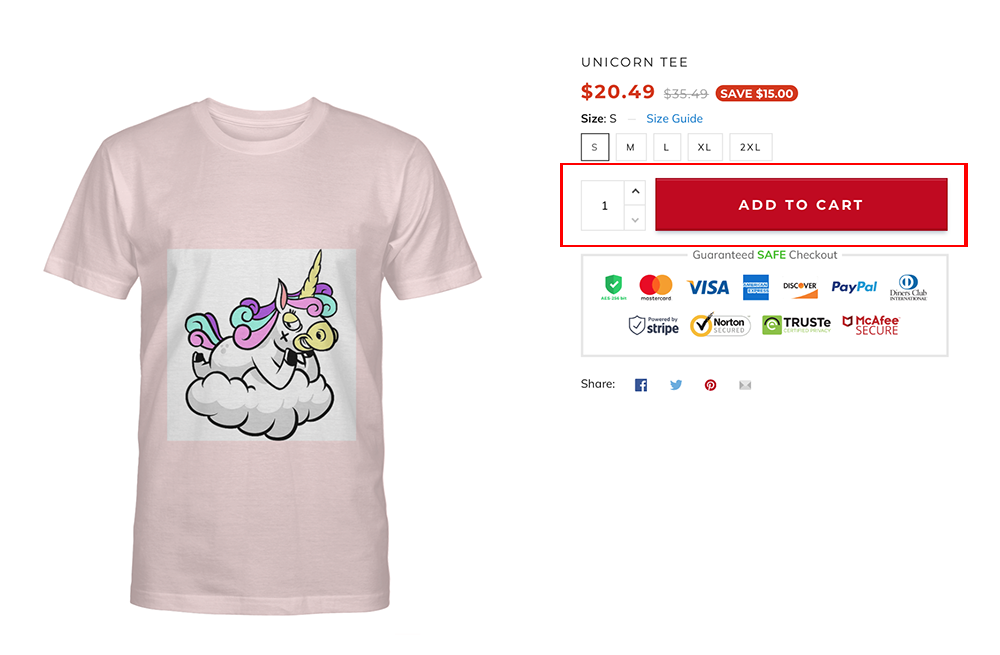
Note: This can only be available for the Theme Roller.
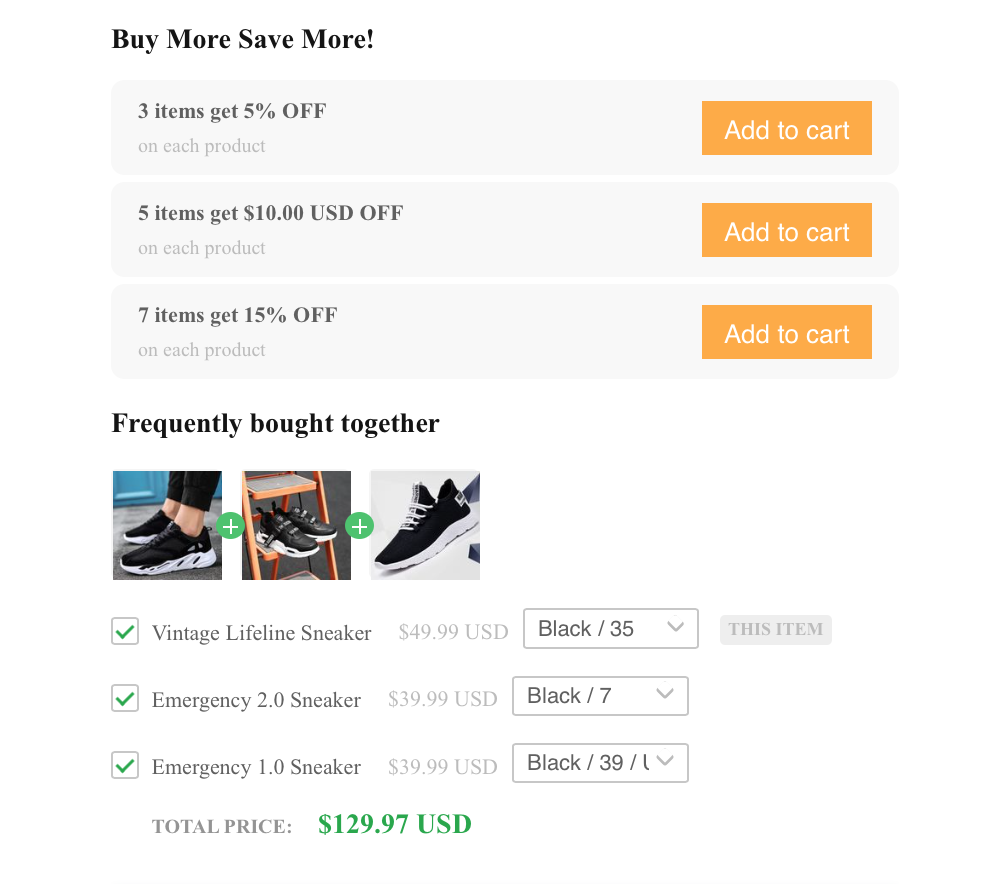
3. Show product recommendation
Personalized product recommendation allows shoppers to find the items that are relevant to them more quickly and easily. Besides that, this feature also triggers impulse purchases and increases the conversion rate.
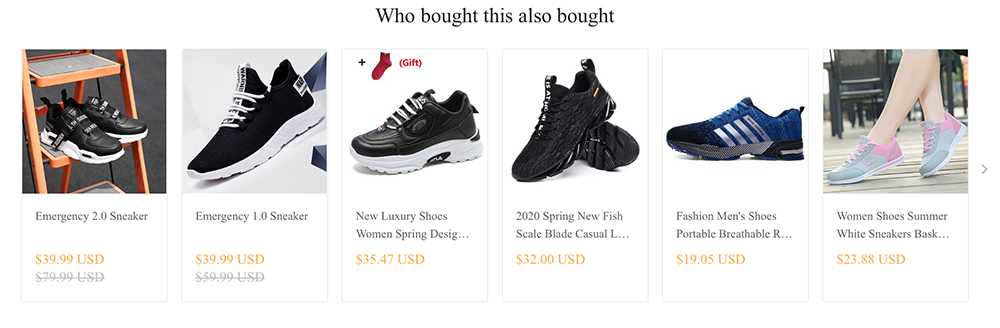
Use Boost Upsell app to suggest some other products (new products, bestsellers) right on the product page.
Note: Click to see how Boost Up-sell app can bring you a fully-functional POD website
Step 5: Add Payout information
Visit tab Balance > Payout to edit and link your verified Payoneer account to your PrintBase account.
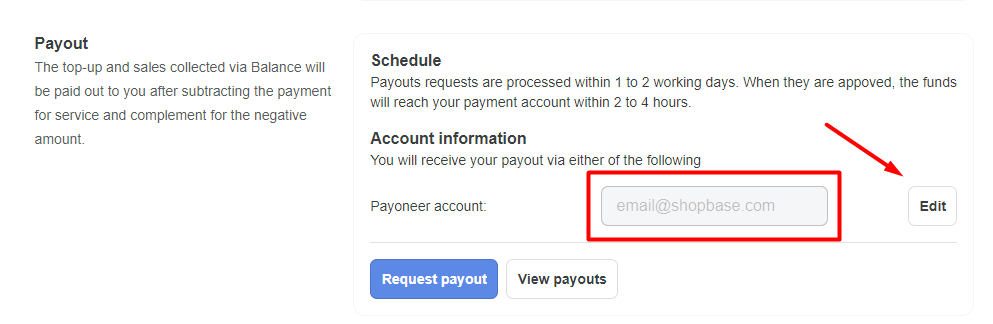
Find more information about Payout with PrintBase here.
Step 6: Connect a domain
If you already have your own domain, we highly recommend you connect it to your PrintBase Print on Demand stores to bring the website a professional look. Go to Online store > Domains > Connect a domain and enter the desired domain.
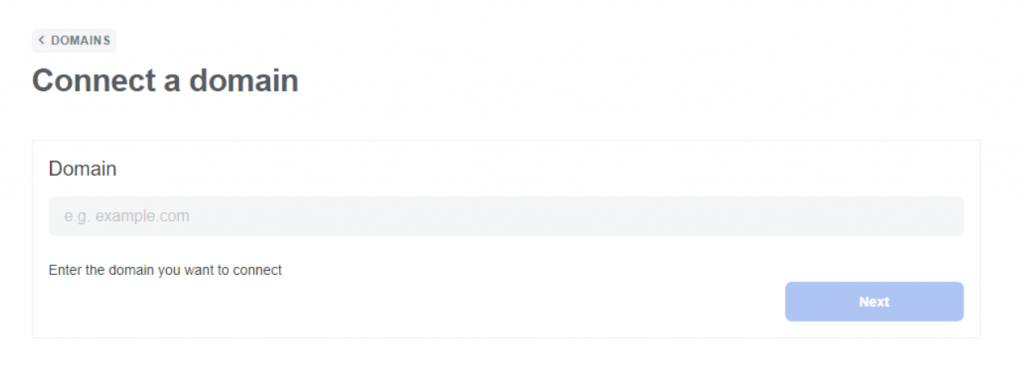
If you haven’t had one yet, ShopBase has created a detailed guide with both text and tutorial videos on how to connect to your existing domain and third-party providers. Find your instruction here!
Step 7: Place a test order
To avoid giving your customers an unpleasant shopping experience that leads to bad reviews, you should check your store first to make sure if it has worked properly or not. For instance, you can place a test order to double-check how your store works before going online with our instruction.
Now is Your Turn!
Whether you are a designer, an artist, or even just a normal person, provided you have some creative juices flowing and want to make a living from them, you can start your own print on demand business right now. Hence, you can forget about creating products, shipping the items, or doing any of these time-consuming tasks. Just keep focusing on designing your stuff, have it printed on demand, sell it, and earn a passive income day in, day out.
Now you’ve read all the easy-to-do steps to successfully create Print on Demand sites. We do hope this detailed guide will help you formulate a successful plan and scale your store right away. If you have any problems, feel free to contact us for help!
Now, let’s kickstart your print on demand business with PrintBase right away!