Create dropshipping website in a minute

Looking to set up a dropshipping website? Look no further. Here is the one and only guide your need to finish your work. But before really getting started, let’s get an idea of what is dropshipping and why you should do it using ShopBase resources.
Menu:
What is Dropshipping?
Dropshipping is an order fulfillment method that enables sellers to directly deliver products from suppliers’ warehouses to the customers’ doors.
The biggest difference between dropshipping and other retail models is that sellers are not required to keep products in stock, handle logistics, and inventory management.
Dropshipping is a great choice for aspiring entrepreneurs to start with because of low overhead costs, and a wide range of products to sell.
? Explore how a seller made $126,927 from dropshipping during the Covid-19 pandemic!
Why should you dropship using ShopBase support?
ShopBase is the first e-commerce platform providing an A-to-Z solution for dropshipping sellers through 4 main functionalities:
- Website creation
- Marketing automation
- Payment gateway
- Order fulfillment service
Getting your own business up and running is no longer difficult with the ShopBase ecosystem.
Access all of the services for FREE by signing up for a trial!
How to create a dropshipping website with ShopBase?
It seems like a daunting task when it comes to setting up a dropshipping website especially for beginners. Although it doesn’t take a lot of financial investment, it may require an immense amount of hard work. But don’t worry! ShopBase along with its amazing features and powerful dropshipping apps can help you easily create a fully equipped dropshipping store in just a day.
There are six steps to create a dropshipping website with ShopBase:
Step 1: Sign up for an account
Step 2: Manage products in your dropshipping store
Step 3: Customize your dropshipping website
Step 4: Optimize your dropshipping website
Step 5: Set up payment
Step 6: Place a test order
Let’s start at the top.
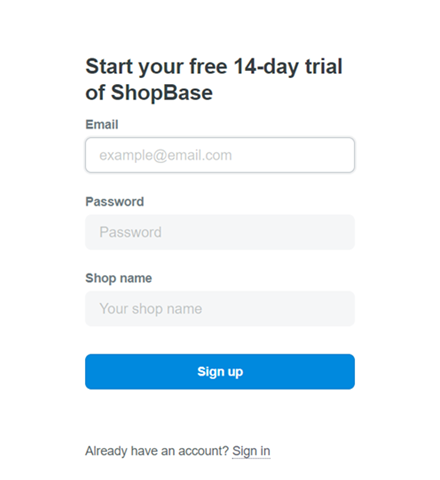
Step 1. Create a ShopBase account
To register for a ShopBase account, visit ShopBase Sign up page and fill in the necessary information. Read Sign up & log in guide for more details.
As soon as you have access to your account, you’ll receive a fully customized store thanks to ShopBase’s special Store Creator feature. You don’t need to spend time creating a dropshipping website manually like you always did before.
Don’t forget to fill in your store name. This process is going to take a few minutes.
Once you have successfully created an account, you’ll be directed to the Admin dashboard where you can manage the store’s operation.
Step 2: Manage products in your dropshipping store
You add a product in ShopBase by entering product details and uploading product images. If your product has options, like size or color, then you can add a variant for each combination of options.
1. Add products
There are 4 ways to add your product to your store:
- Manually adding products.
- Import products by CSV.
- Use dropshipping apps such as Dropship Connector and Print Hub.
- Import products from WooCommerce or Shopify stores to ShopBase.
2. Change product details
After you’ve created products, you can change your product details.
Follow these tutorials:
3. Manage product variants
Each item is available in different sizes, colors, materials and prices. These combinations of options are called product variants. Customers can see a list of variants for a product on its product details page.
Read our variants guide to learn more.
4. Create collections
A collection allows you to organize products into structured groups. This is not only beneficial for the organization in your Admin, but also for customers to browse your online store.
You can create two types of collections:
Step 3. Customize your store
In this step, you can focus on designing the appearance of your website. There’re many setting options on ShopBase for you to make your store look outstanding and unique. You can change theme styles, modify the text and colors, adjust navigation settings, etc.
1. Change theme styles
If you don’t like the ShopBase set-up style, you can easily change it on your own preference.
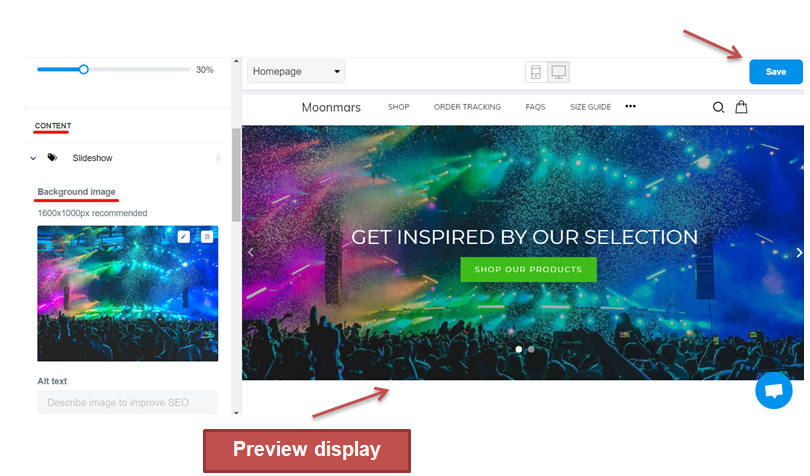
- First, click Themes in the Online Store section, then press the blue Customize button to enter the main homepage design.

There will be a large display to preview what you have changed on both mobile and laptop interface. Remember to save your adjustment before the exit.
- In order to change the style on your dropshipping theme, click on Settings then press Change theme style. ShopBase currently provides 4 styles with the Roller theme for you to freely choose.
2. Modify text and colors settings
The typography on your store interface should be resembling so that visitors can easily follow your pages. In the Theme settings, you can control the colors and typography showing on your storefront.
- Typography settings for heading, body, and button text.
- Colors settings and swatches
Note: Remember to save all the changes before entering the storefront to see the difference.
3. Navigation and pages
In the Online Store section, Pages allows you to organize your store information in pages, and display it on the storefront by settings in Navigation.
-
Navigation
There are two types of default menus in every ShopBase store: Main menu and the Footer menu. Read how to add, remove, and edit different menu items.
Note: These items on the Header can be turned into drop-down menus to add subcategories to your menu.
Don’t know how to create a menu for your ShopBase store, check this video!
-
Pages
In this section, you can go to manage pages to view how to add a new webpage or update content.
Besides the contact-us page, you can also add a blog to your online store to drive more traffic or to encourage feedback.
Step 4: Optimize your online store
A fully optimized online store can drive conversion rates and quickly boost sales. Therefore, in this section, we will provide you the ultimate ways to leverage your store, especially on the Cart and Checkout page.
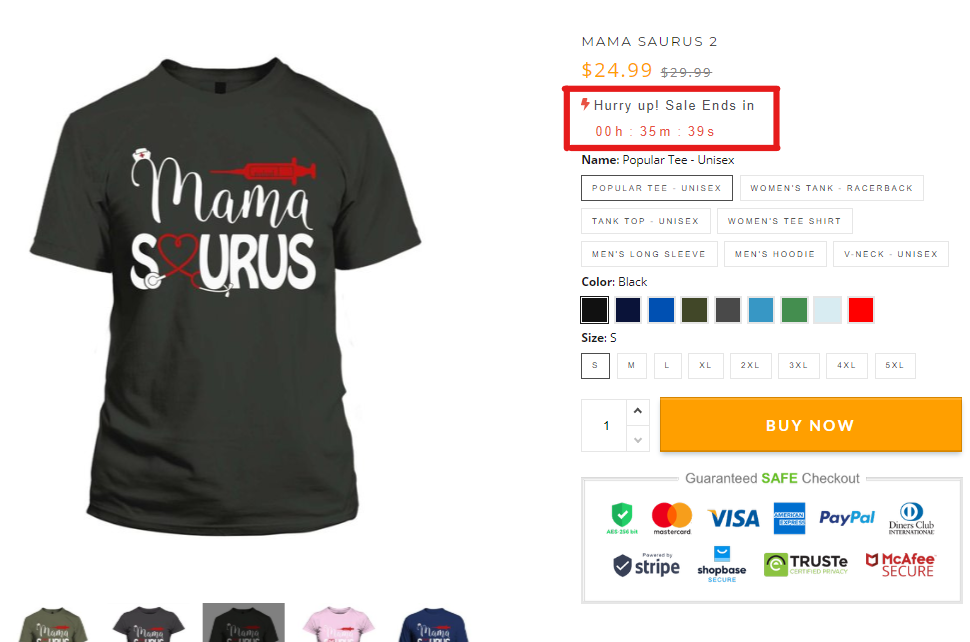
1. Show discount policies and countdown timers
Instead of just showing product prices, sellers should display the Original selling price and the Discounted price (Compare at price) next to each other.
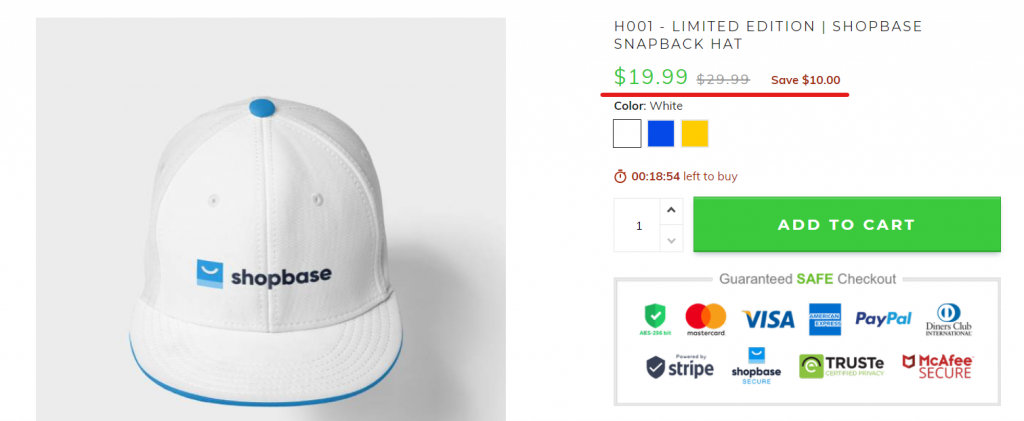
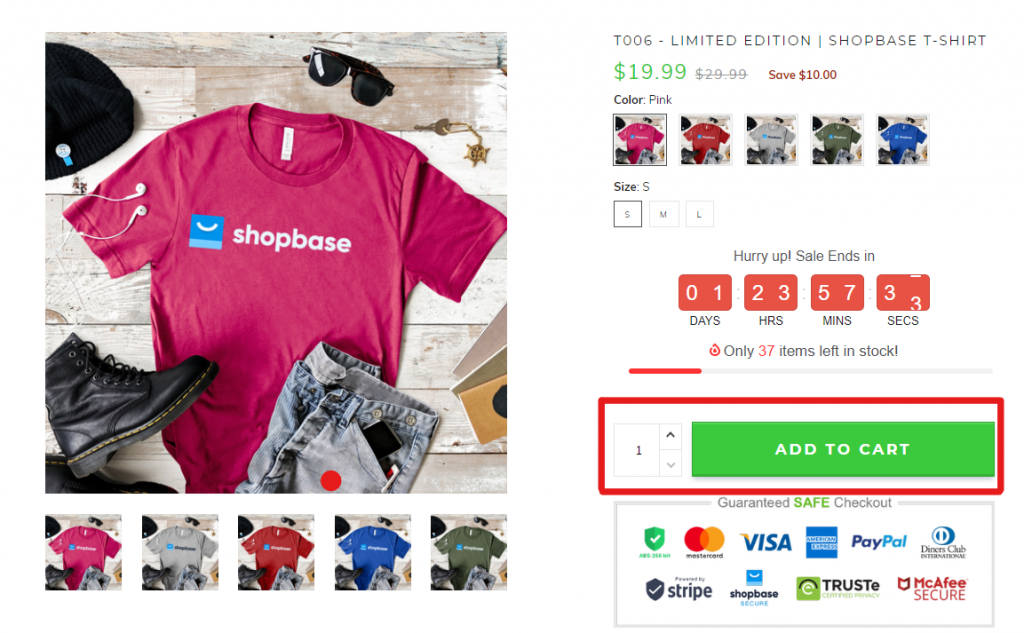
Moreover, you should add a countdown timer to show the scarcity and urge your customers to buy faster before this product is running out.
To install the Countdown Timer, check out the video below!
2. Highlight the “Call to Action” (CTA) button
CTA (Call-to-action) is the Add to cart or Buy Now button on the product page.
The Add to cart button should always be on the 1st screen. In other words, make sure that your customers see the button Add this cart as soon as they enter a product page.
You should design your Call to Action button in red, green or yellow to create a sense of excitement and urgency for shoppers to buy your products.
To highlight the Call to action button, you can:
- Click Theme in the Online Store section, then move on to the Settings part.
- Customize it in the section Product Grid.
Note: This can only be available for the Theme Roller.
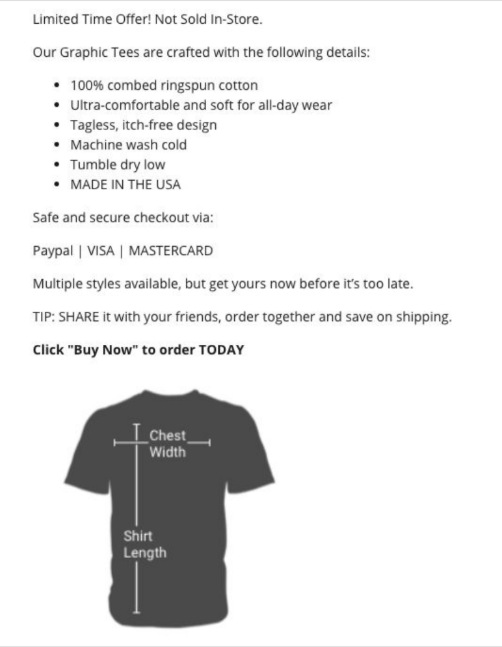
3. Optimize product description
Instead of providing general information, you should add a description as clearly and neatly as possible, making sure your customers actively find the information they need.
4. Add trust badges
To enhance customer engagement and induce brand loyalty, your store must be trustworthy. Therefore, you need to build trust amongst potential customers through trust badges so that they feel secure spending money on your products.
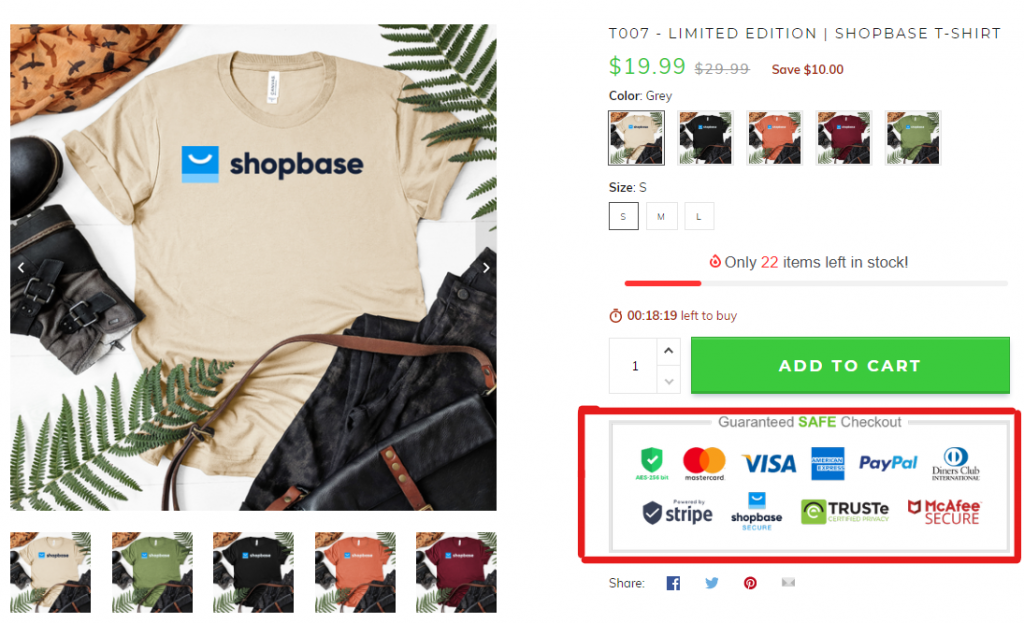
Display trust badges on the product page and checkout page for all current themes
Learn how to add trust badges to your product page with the tutorial video below!
5. Optimize checkout page
Checkout abandonment is one of the pressing issues that every online retailer wants to avoid when creating a dropshipping website. This situation often occurs because customers are forced to register themselves before making any purchases. Those who are not comfortable providing their personal information and find it worthless to fill in long forms just for a single purchase, thus opt out.
Therefore, apart from trust badges, you can also add a countdown timer and Why choose us section to increase credibility and promote the immediate payment of guests.
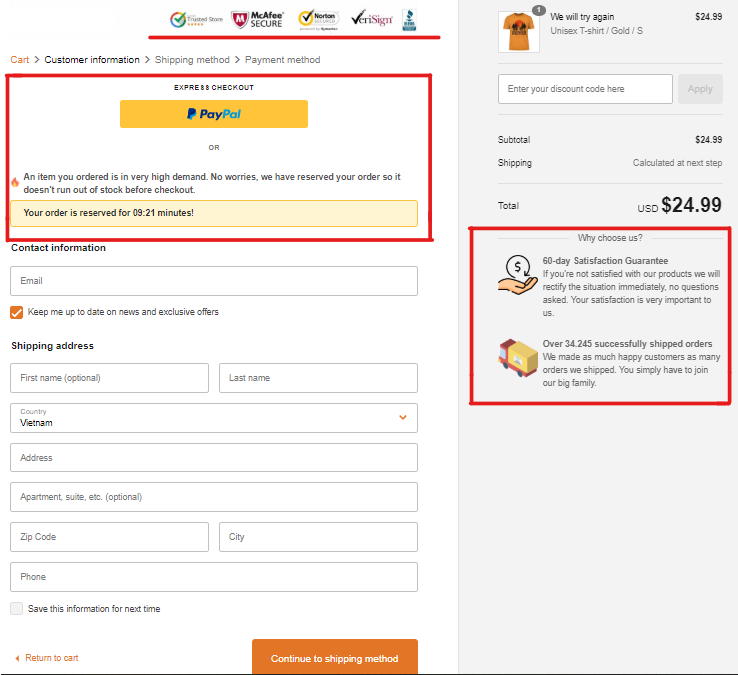
Read Add countdown and trust indicators to learn more about how to add timer and trust indicators to Checkout Page.
6. Show product recommendation
Personalized product recommendation allows shoppers to find the items that are relevant to them more quickly and easily. This feature also triggers impulse purchase and increase the conversion rate.
Use Boost Upsell app to suggest some other products (new products, bestsellers) right on the product page.
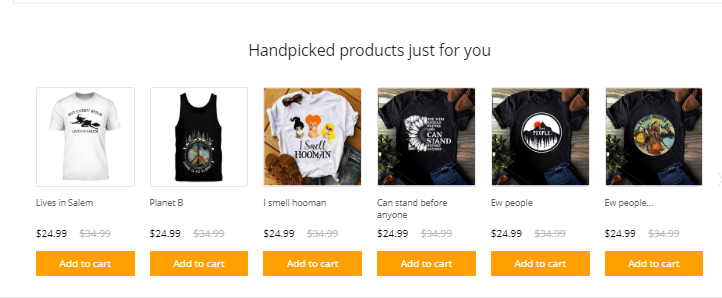
In addition, when choosing to click on these recommended items, customers may refer to them without having to leave the main product page via Quick view function, which is very convenient for purchasing orders on mobile phones. This app is free and available at ShopBase Appstore.
Learn how to set up product recommendation widgets with the video below!
7. Add a domain
A unique domain name can impress your customers and make your store more professional.
Learn how to add a domain to your ShopBase store via the tutorial video below!
Step 5: Set up payments
There are several payment methods on ShopBase that you can stick with:
-
PayPal
-
Stripe
Step 6: Place a test order
Before going online, you need to check whether your store has worked properly or not to avoid giving your customers an unpleasant shopping experience. You can simulate different types of transactions, depending on what information you enter.
Your turn!
Now you’ve read all the easy-to-do steps to successfully create a dropshipping website. If you already have amazing product ideas and are ready to sell, then let’s kickstart your business with ShopBase right away!
If you have any problems, feel free to contact us for help!